Bynder HubSpot Integration Guide
Installation configuration and everyday use
This guide explains how to install the integration, choose where assets are delivered, automate asset selection, and add Bynder content to HubSpot. After setup, users can work through the standard HubSpot file manager or the custom Bynder Media module.
Install app
Authorize access in HubSpot
Create account
Access the integrations portal
Configure sync
Choose delivery and routing
Add assets
Sync automatically or on demand
Choose the right delivery method
| Behavior | Media Bridge (recommended) | HubSpot library |
|---|---|---|
| File hosting | Bynder | HubSpot |
| Updates | Bynder changes appear through the live asset URL | The copied file must be resynced after changes |
| HubSpot access | Custom Bynder Media module | Standard HubSpot file manager |
| Best fit | Centralized DAM control and current assets | Teams that prefer the familiar HubSpot workflow |
Install the integration
Complete the account creation and HubSpot authorization steps before configuring asset delivery.
Install the app from HubSpot
Open the HubSpot App Marketplace and search for Bynder, or filter by Content Management System. Select the integration listing and click Install app.
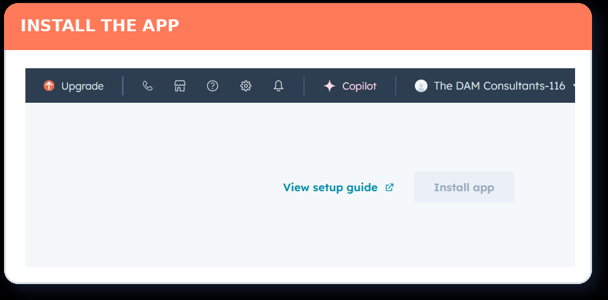
Install the Bynder integration from its HubSpot App Marketplace listing.
Open the HubSpot App MarketplaceCreate your integration account
Click 'Connect' to create your integration account. This account is used only to access the integrations portal.
Open the account registration pageAuthorize access and start the trial
Allow the requested access. HubSpot will redirect you to The DAM Consultants integrations portal. Sign in with the account created in Step 2 and select the free trial option or the 'Already Paid' option if you have added the integration to your Bynder contract.
Connect the portal to Bynder
Click the Bynder Credential tab and enter your Bynder domain (no https needed) and your permanent token from Bynder. This can be obtained from https://[your domain]/pysettings/permanent-tokens/. Click 'Add New Token' and enter the following:
- Description: any
- Integration: Other
- Assigned User: Admin or similar level – use a generic account if possible
- Select all Scopes for: Assets, Collections, Metaproperties, User
Copy the newly created token and paste into the Permanent Token section, then click 'Connect With Bynder.' Once a success message shows, move to the next step.
Configure asset delivery
Choose one or both delivery methods
Open Sync Settings. Enable Media Bridge, the HubSpot library, or both. Save your settings before continuing.
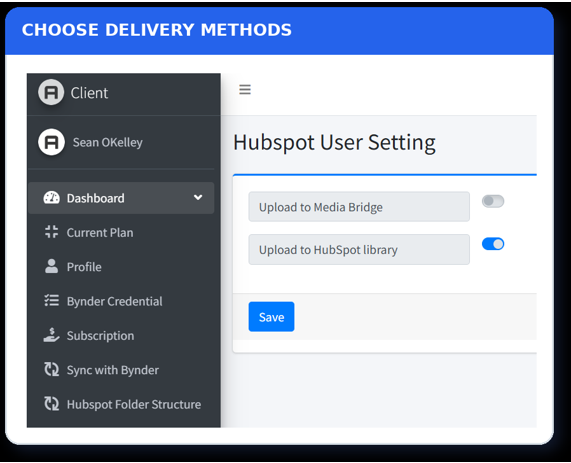
Enable the destinations your users need, then save the settings.
Media Bridge
Media Bridge sends the asset URL to the custom Bynder Media module. Assets remain hosted in Bynder, and changes to an asset are reflected wherever that URL is used.
HubSpot library
The HubSpot library stores a copy in HubSpot. If the source asset changes in Bynder, update the HubSpot copy by changing the custom attribute HubSpot Sync Status to 'Resync' and saving the asset.
Define automatic asset selection
Select metaproperties and values
Open Sync with Bynder. Choose the metaproperty and value(s) that should trigger an automatic sync to HubSpot. Add more selections as needed; these selections can be changed later.
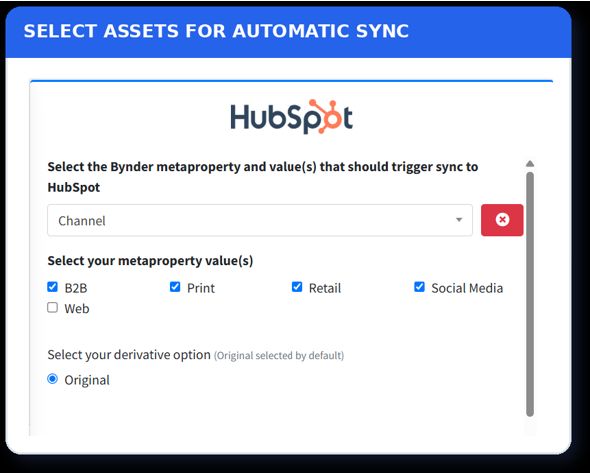
Choose the Bynder criteria that identify which assets should sync automatically.
When to skip this step
Automatic selection is optional. Skip it if users will add assets on demand through Sync Using Bynder UI or the Bynder HubSpot connector browser extension.
Derivative selection
Select the derivative that HubSpot should receive. The original asset is selected by default.
Route assets to HubSpot folders
Choose a destination strategy
Use Asset Destination Folder(s) when synced assets should be placed in a specific HubSpot folder structure.
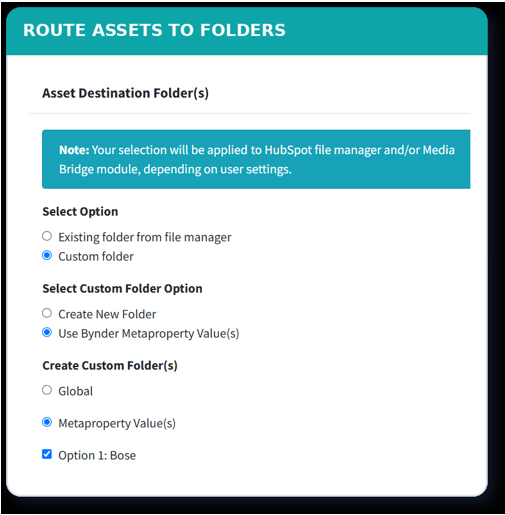
Choose an existing destination or create a folder structure from Bynder metadata.
Existing folder
Select a folder already available in the HubSpot file manager. All matching assets will sync to that folder.
Custom folder
Create one new folder or assign each metaproperty value to its own folder. Any required folders that do not exist will be created automatically.
Add assets on demand
Connect your Bynder portal
In the integrations portal, select Sync Using Bynder UI. Enter your Bynder domain and credentials to open the DAM interface and add assets without creating an automatic sync rule.
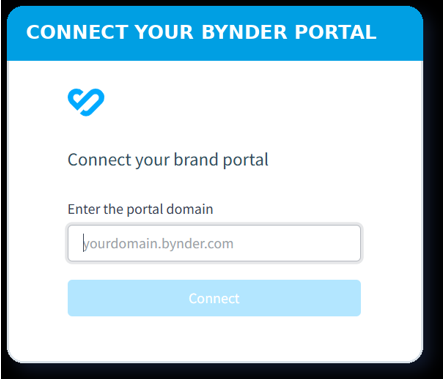
Enter the portal domain to open Bynder from the integrations portal.
Use Bynder hosted assets
Use assets from the HubSpot library
When the HubSpot library option is enabled, use the normal HubSpot workflow. Add an Image, Video, or Document module to a template, open the file library, and select an asset from the Bynder folder. Updating a copied asset: Change the Bynder custom attribute HubSpot Sync Status to 'Resync', then save the asset. The integration will update the copy stored in HubSpot.
STEP 10Insert media through the Bynder module
In the HubSpot editor, add the Bynder Media module. Search or browse the available Bynder hosted images, videos, and documents, then select the asset to insert.
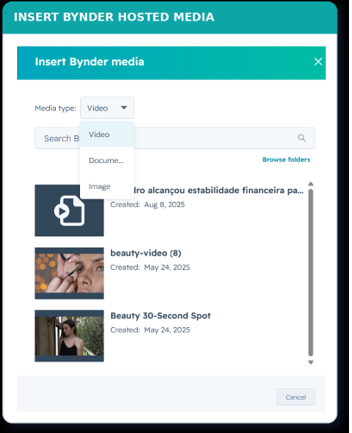
Enter the portal domain to open Bynder from the integrations portal.
Use the browser extension
Select and send an asset
Open the Bynder HubSpot connector Chrome extension and sign in with the same credentials used for the integrations portal. From the embedded Bynder interface, select an asset and choose how it should be sent to HubSpot.
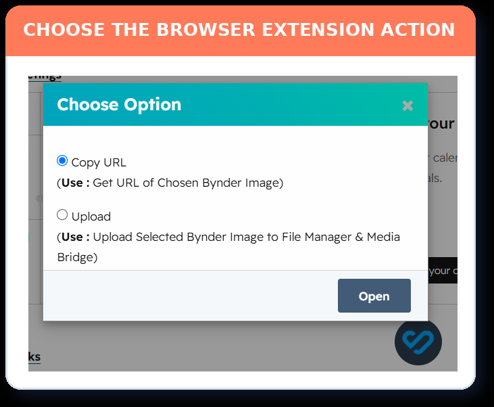
Choose whether HubSpot should use the Bynder URL or receive an uploaded copy.
Choose the action
| Action | What happens |
|---|---|
| Copy URL | Uses the Bynder hosted asset URL. |
| Upload | Uploads the selected Bynder asset to the configured HubSpot destination. |
Automatic sync is not required for the browser extension. The configured delivery and folder settings still determine where the selected asset is sent.